

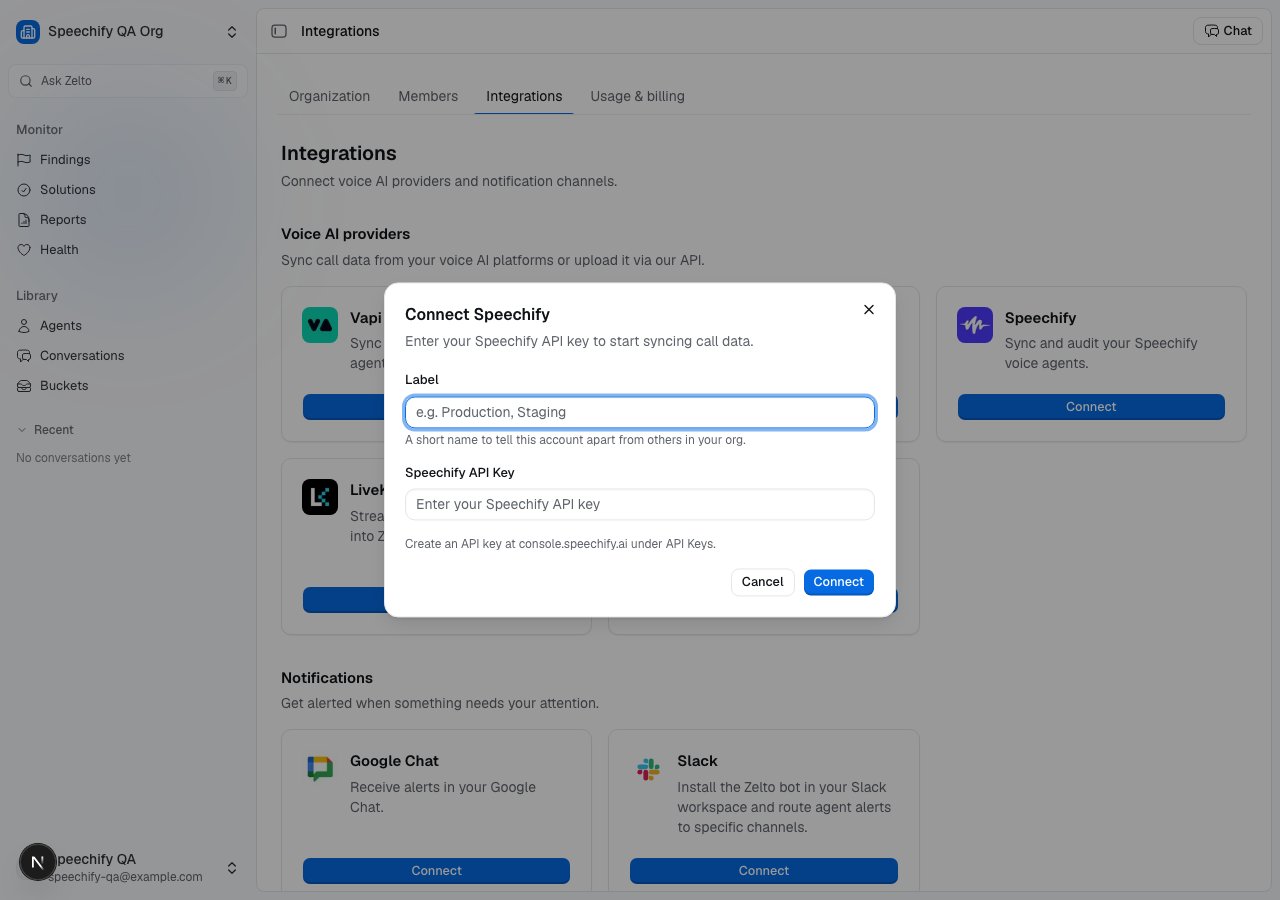
Connect
- Open Settings → Integrations → Speechify and click Connect Speechify.
- Paste your Speechify API key. Create one at console.speechify.ai under API Keys. We use it to fetch agent metadata and call data on demand.
- The card shows the webhook URL Zelto exposes. Copy it and set it as the
agent’s
webhook_urlin Speechify so finished calls are pushed to us.
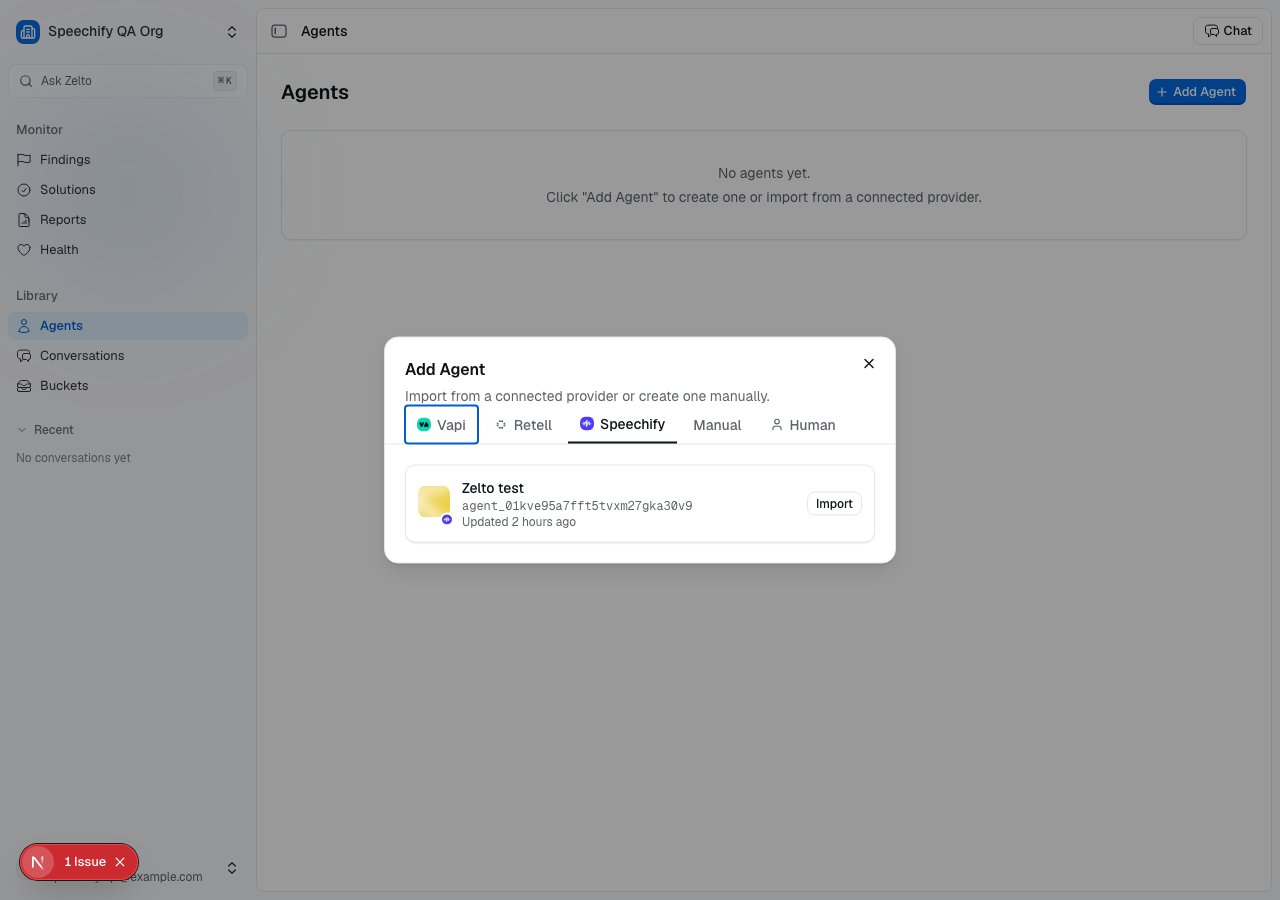
What gets ingested
Zelto ingests Speechify Voice Agent calls two ways:- Per-agent webhook — set the webhook URL from the integration card as the
agent’s
webhook_urlin Speechify. Theconversation.completedevent carries the full transcript inline, so each finished call lands as a conversation within a few seconds. - 14-day backfill — when you import an agent, Zelto automatically backfills its calls from the past 14 days. Re-import an agent at any time to refresh that history.
Verify the first call
Place a test call to your Speechify agent, then open Conversations — the call shows up within a few seconds with its transcript. If it doesn’t, the agent’s Connections card shows whether calls are arriving and flags the most recent delivery if it errored. See Connect a voice provider.Connection status & disconnecting
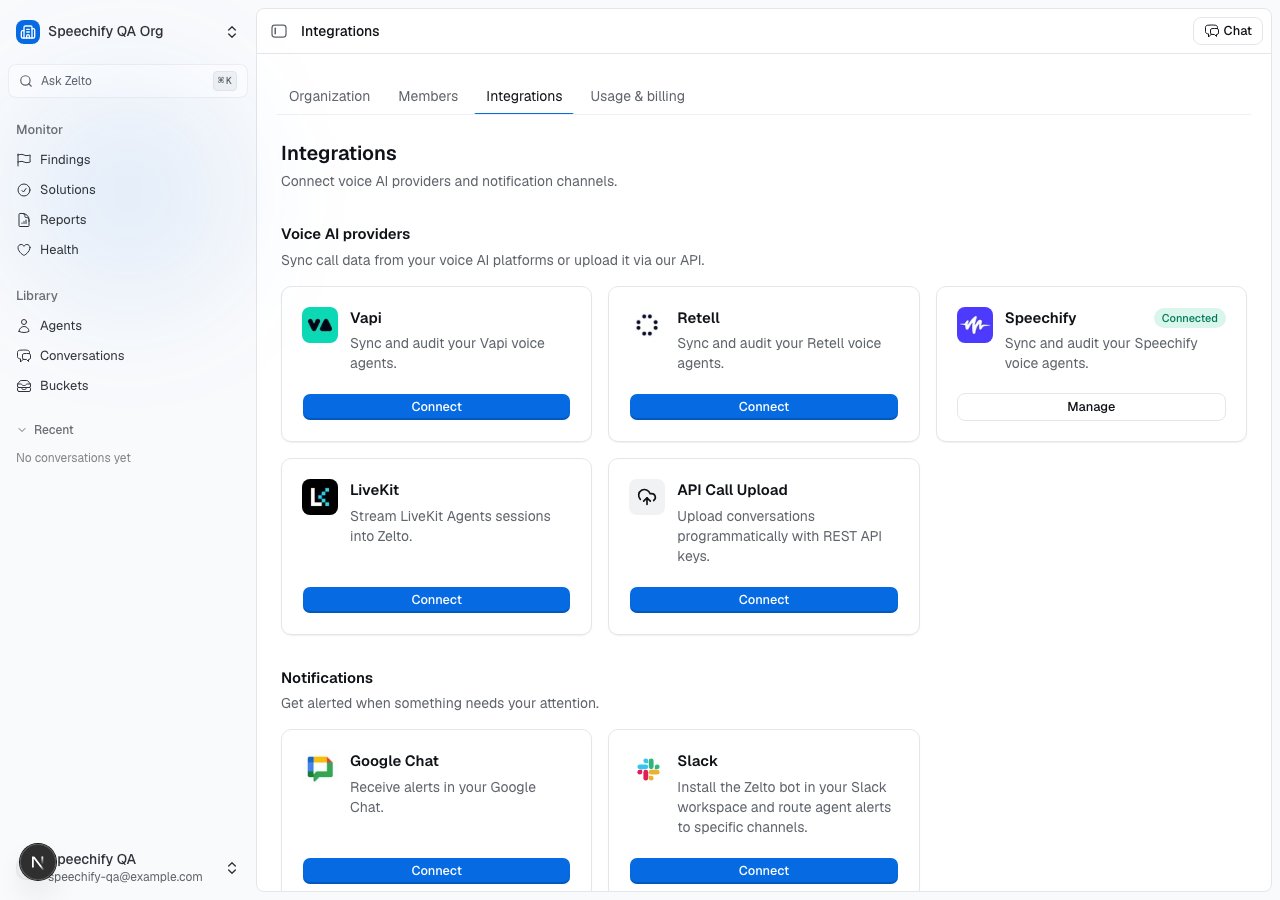
The card shows the connected account and the webhook URL Zelto exposes. The Disconnect action removes the stored API key; remove thewebhook_url from
your Speechify agent separately to stop the push side.
Related
- Connect a voice provider — pick a path and verify ingestion.
- Conversations — where Speechify calls land.
- Agents — how Zelto models each agent.
- Findings — what analysis surfaces from each call.
- Retell · Vapi — the other native voice integrations.